Extending Your RAM with Virtual Memory on Windows: Using Fast NVMe Drives for Better Performance
Introduction
If you’ve ever used Linux, you’re probably familiar with swap space—a portion of your disk that acts as an extension of physical RAM. When your system runs low on memory, less-used data is “swapped” out to disk, freeing up RAM for active processes. This creates the illusion of having more memory than your hardware actually provides.
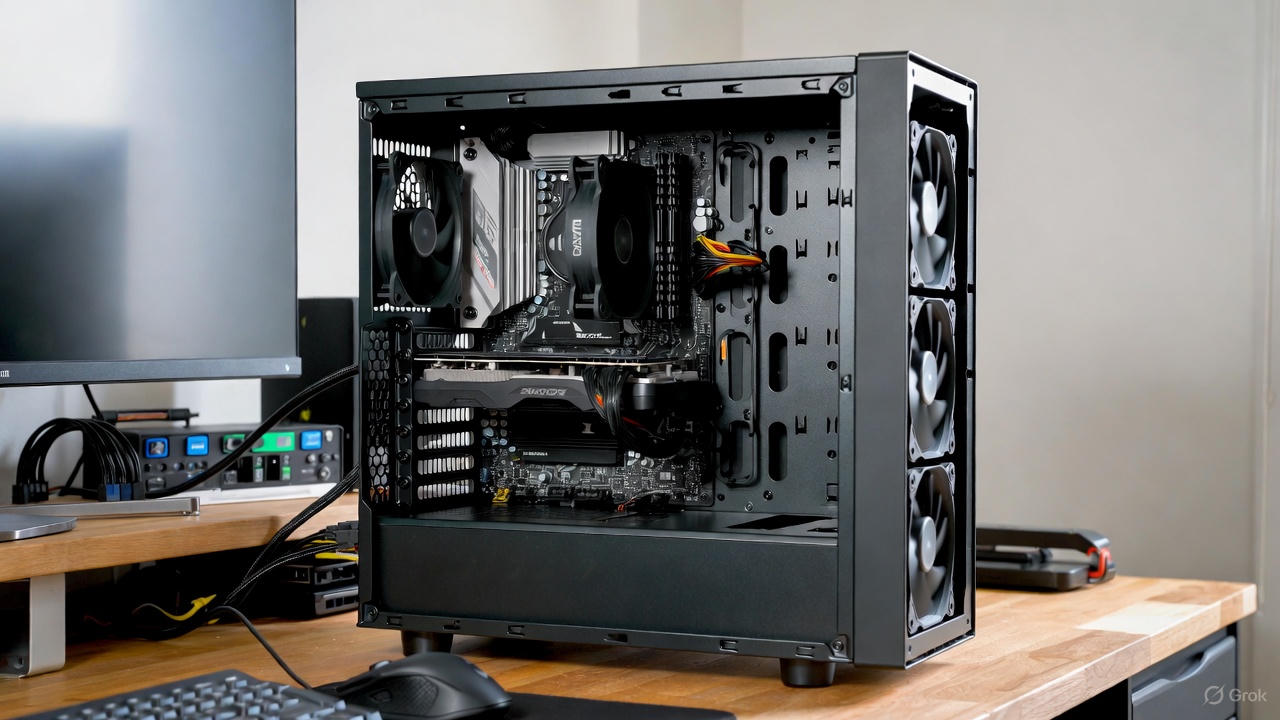
With modern fast NVMe SSDs, swapping no longer feels as sluggish as it once did on traditional hard drives. The result? You can comfortably run memory-intensive workloads even on systems with modest RAM amounts.
The good news is that Windows has supported this exact concept for decades through virtual memory and the page file (pagefile.sys). It’s essentially Windows’ version of Linux swap. In this post, we’ll explore how it works and how you can configure it to take full advantage of a high-speed NVMe drive.
Understanding Virtual Memory on Windows
Windows uses a system called virtual memory to manage RAM efficiently. When physical memory (RAM) fills up, the operating system moves inactive pages of memory to a special file on disk called the page file. This process is known as paging or swapping.
Key points:
- The page file acts as overflow storage for RAM.
- Modern NVMe SSDs are fast enough that paging to disk has much less performance impact than on older HDDs or even SATA SSDs.
- By default, Windows manages the page file automatically, dynamically resizing it based on need.
- You can manually configure it for better control—especially useful if you want to place it on your fastest drive or set a larger fixed size for heavy workloads (e.g., video editing, virtual machines, or large data processing).
While it’s still slower than real RAM, a well-configured page file on an NVMe drive can significantly extend your effective memory capacity without frequent crashes or “out of memory” errors.
Implementation: How to Set Up or Optimize the Page File
Here’s a step-by-step guide to manually configure your page file on Windows 10 or 11:
-
Right-click This PC (or My Computer) in File Explorer and select Properties.
-
In the window that opens, click Advanced system settings on the left.
-
Under the Advanced tab, click Settings in the Performance section.
-
Switch to the Advanced tab again, then click Change under Virtual memory.
-
Uncheck “Automatically manage paging file size for all drives” to take manual control.
-
Select your fastest drive (ideally your NVMe SSD).
-
Choose Custom size and enter:
- Initial size: Typically 1–1.5 × your physical RAM (e.g., 16–24 GB for 16 GB RAM).
- Maximum size: 2–3 × your physical RAM (e.g., 32–48 GB for 16 GB RAM).
Tip: These are general guidelines. Adjust based on available disk space and your workload.
-
Click Set, then OK on all windows.
-
Restart your computer for the changes to take effect.
Additional tips:
- Avoid placing the page file on a slow mechanical HDD if you have an NVMe drive available.
- If you have multiple fast drives, you can create page files on more than one for parallel paging (though a single fast NVMe is usually sufficient).
- Monitor usage in Task Manager → Performance → Memory to see “Committed” memory and paging activity.
- Never disable the page file entirely unless you have abundant RAM (32 GB+) and know what you’re doing—some applications require it.
Further Reading
- Microsoft Official Documentation: Manage virtual memory pagefile in Windows
- How to determine the appropriate page file size for 64-bit versions of Windows: Microsoft Support Article
- Performance tuning guides for Windows virtual memory (search for recent articles on sites like Tom’s Hardware or AnandTech)
- For Linux users transitioning: Compare swap vs. page file behavior on forums like Reddit’s r/Windows11 or r/sysadmin
With a properly configured page file on a fast NVMe drive, you can push your system further than its physical RAM would normally allow—perfect for power users on a budget. Happy computing!